
“Anyone can observe the Sabbath,
but making it holy surely takes the rest of the week.”
- Alice Walker
discoveries, musings, and passions of a california raconteur lost in the garden state
 Meatless Monday at Uncle Moustache in Montclair | NJ (via Devil Gourmet)
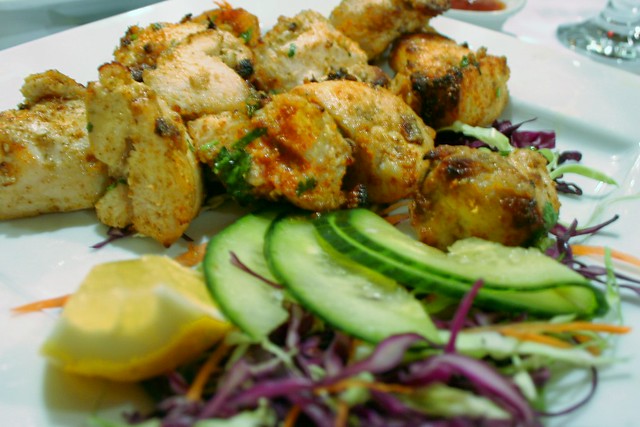 The Tandoori Chicken is the superstar on the menu ~ tender chunks of white meat dancing in a spice perfume where notes of cardamom offer a refreshing brightness. So good you’ll want to place an additional order to take home for the “doggie.” Don’t miss the Avacado Lassi.
 Meatless Monday | Vegan Dining at Mesob | Montclair | NJ (via Devil Gourmet)
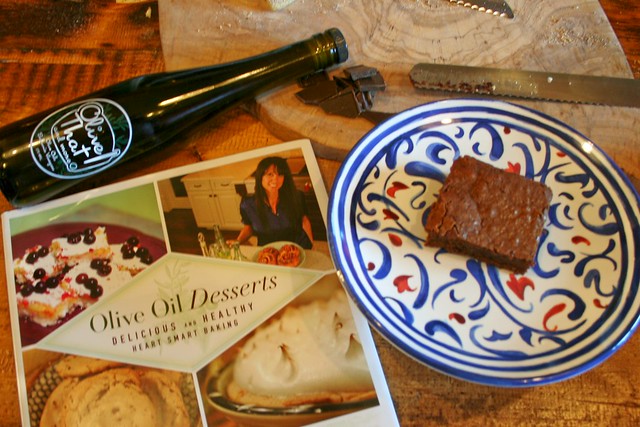
 Thanks to Rachel Ray we’ve all come to know EVOO, but few of us know what that means. Olive oil, in all of its forms, is heart healthy, especially when compared to other fats in the diet. Flavor profiles change significantly when olive oil is processed. Extra Virgin Olive Oil, or even First Press EVOO is just that, olive oil that has been pressed from olives. It’s green and yellow, and if you get the unfiltered variety it has those little floating bits of fruit that are packed with flavor. Once pressed, the olives still hold a lot of oil in their fruit, so heat is applied to release more of the oil. Heat diminishes flavor making this sort of oil a poor choice for dipping, but a great choice for cooking since all of the healthy properties are still there. The remaining fruit is then chemically treated to extract even more oil given us the generically labeled “olive oil” and grocery items that “contain real olive oil.”
 The flavor profiles of olive oils vary by regions and country of origin. My favorite was, big surprise here, Tunisian Olive Oil. Like Moroccan olive oils, this North African oil has a very smooth flavor and texture profile, with grassy notes that connote spring and new growth. All of the olive wood spoons and serving pieces in the store also come from Tunisia. Steve and Jennifer deal directly with the olive wood producers in Africa. Greenpeace Africa recently released a report that stated solar power plants in North Africa (Tunisia) could conceivably power the entire EU. I have a strong suspicion that well all be hearing a great deal more about this Mediterranean nation but for now let’s just enjoy the olive oil.
 Near Paterson's Great Falls stands a large battleship grey concrete wall that, at first glance appears to be the remains of some industrial building that has fallen into a state of decay.
 Hincliffe Stadium in Paterson is one of the many forgotten gems of the Silk City that has been waiting to be rediscovered and repurposed. Today, US Secretary of the Interior Ken Salazar named Hinchliffe Stadium a National Historic Landmark. Woo hoo!
  During World War II, Hincliffe hosted war bond rallies featuring popular celebrities of the time including Bud Abbott and Paterson Native Lou Costello. Imagine the experience, at a time when our nation was in such turmoil to come together with friends, neighbors, and strangers in support of something so worthy in an environment of light heartedness. It must have been magical.
  I'm a strong believer in the idea of buildings having souls, think of it as a variation of "if these walls could talk." With so much of that period architecture intact any future use of the stadium will not only echo with the cheers of those fans, but I am 100% confident that if one listens closely enough they'll hear ever so quietly the last echoes of the last cheers of the last Negro League Baseball game played at Hinchliffe.
  Nutley NJ's Old Canal Inn is home to the famous Death Seat, made famous in "Weird New Jersey" but known to locals since the middle of the last century.
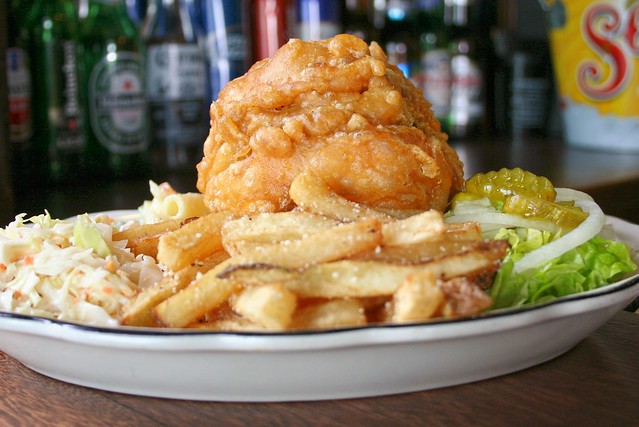
 So you think that just because schools in session, the weather is on the nippy side, and the humidity is less than 1000% it's not farmers' market season? WRONG!
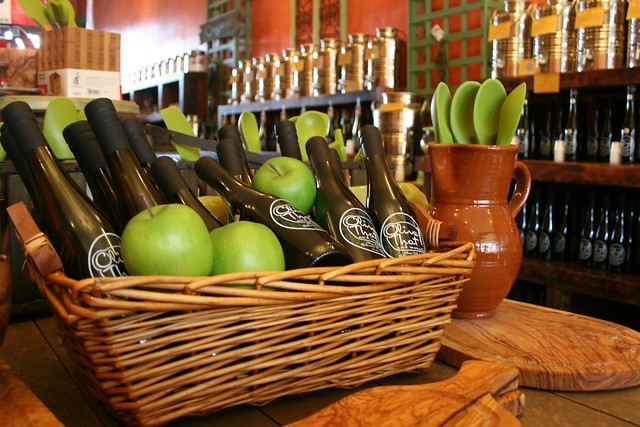 Made by marrying tart Granny Smith apples with aged balsamic.
 Created by Charles Keck in 1924 the War Memorial in Edgemont Park Montclair NJ features the names of those who gave their lives in World War I carved into the sides of the central obelisk.
 In grateful tribute to the men of Montclair who in the world war past the last full measure of devotion in defence of the American Principles of Liberty and Justice for All this monument has been erected by voluntary offerings of the people of Montclair MCMXXV